Getting Started with the Developer SDK for Unity
This guide provides step-by-step instructions for implementing the Developer SDK for Unity.
Before You Start
Make sure you have the following:
- A Developer Account
- A Sandbox User Account
- A GitHub Account
Request a Developer Account
To get access, fill out this form.
Add the SDK to Your Unity Project
Step 1: Create a new project in the Unity Editor.

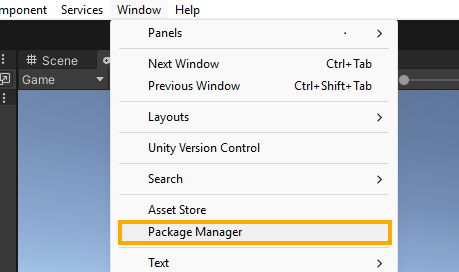
Step 2: In the Unity Editor, go to Window > Package Manager.
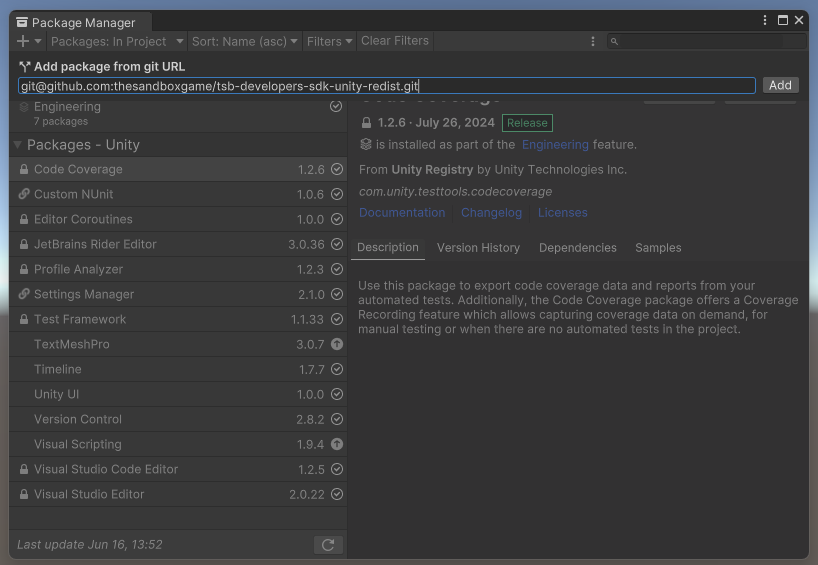
Step 3: Click the + button and select Add package from Git URL.... Then paste the following URL:git@github.com:thesandboxgame/tsb-developers-sdk-unity-redist.git
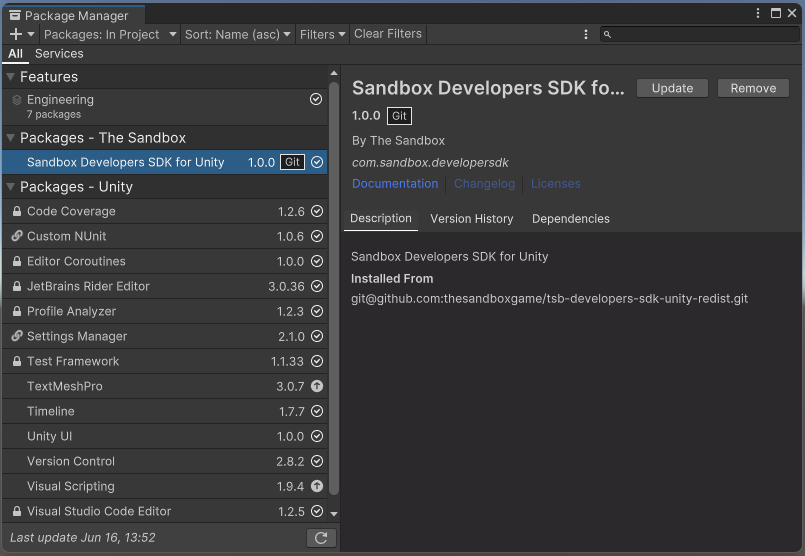
Step 4: Once imported, you should see a confirmation that the Sandbox Developer SDK was added successfully.
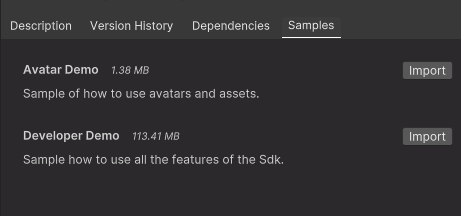
Step 5 (Optional): Install the included sample scenes.
Run the Avatar Demo Sample
Step 1: In the Project panel, navigate to:Assets > Samples > Sandbox Developer SDK for Unity > 1.0.1 > Avatar Demo > Assets > Scenes,
and open the AvatarScene.
![]()
Step 2: In the Hierarchy, select the GameManager object. Then, open the GameManager (Script) component in your IDE (e.g., Visual Studio, Rider).
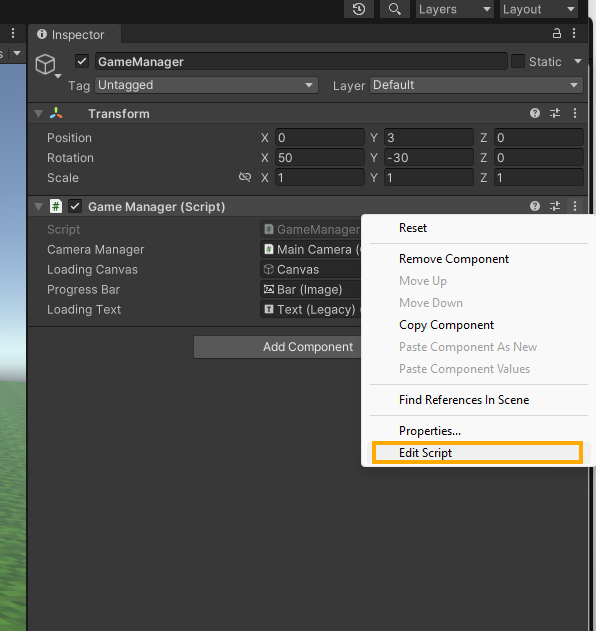
Step 3: Enter your authentication data (ClientId and ClientSecret) as provided by The Sandbox. Keep the RedirectUri set to "avatardemo://auth".

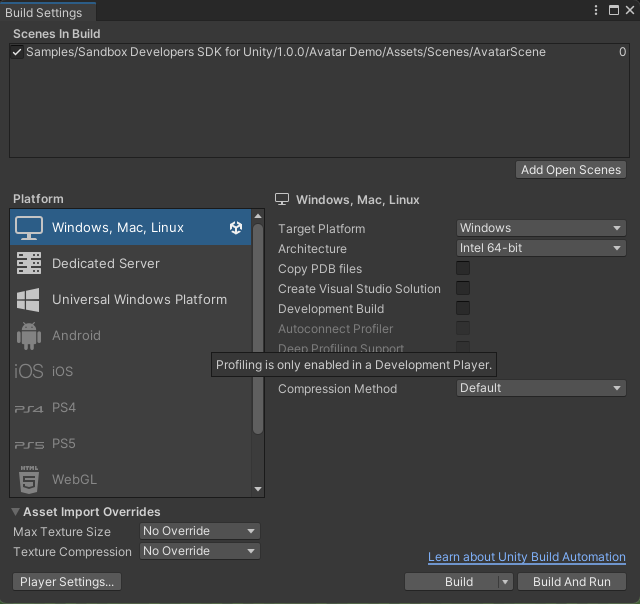
Step 4: Go to File > Build Settings, add the open scene, and build the app for Windows or macOS.
Step 5: If you’re using Windows, copy the deeplink.bat file to the same folder as the executable and run it to register the deeplink.
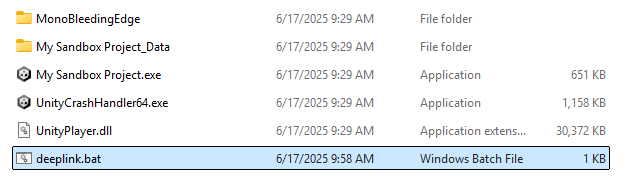
Step 6: Run the built application.
![]()